The Future of Everything
Animated in Animate, Finalised in Final Cut
Hi! I'm Kevin, the editor of The Future of Everything, a 2D animated anthology comedy series created by writer/director Mike Greaney.
Being from a live action background, this was a different workflow for me. During pre-production, Mike would board each episode and build an animatic in Storyboard Pro which had a voice scratch track that Mike would produce himself, along with basic sound design elements and some music tracks for reference.
One area where live action differs from animation, is that the animatic is where you get your timing and ‘edit’ right before you start animating. Our focus during this period was sharing notes between the team on Frame.io and finessing the animatic so that by the time we entered the edit, there were really only minor tweaks required to reach our final locked off master.
As animation commenced, I began to piece the edit together as shots were approved and delivered. This was all tracked using a Google Sheet with the shots available to the whole team via Box.
For post, we set up the project in PostLab so we could utilise the collaboration tools it offered. We encountered a few issues, with some work lost when uploading changes, however the terrible internet in Melbourne could have equally been to blame. As mentioned, the animatics for the series were produced in Storyboard Pro, from which we could export Final Cut Pro XML (.xml) files, along with any rendered visuals separated by panels. Using SendToX, I then produced a timeline with cut points along with Mike’s temp audio work. This was essentially my starting point.
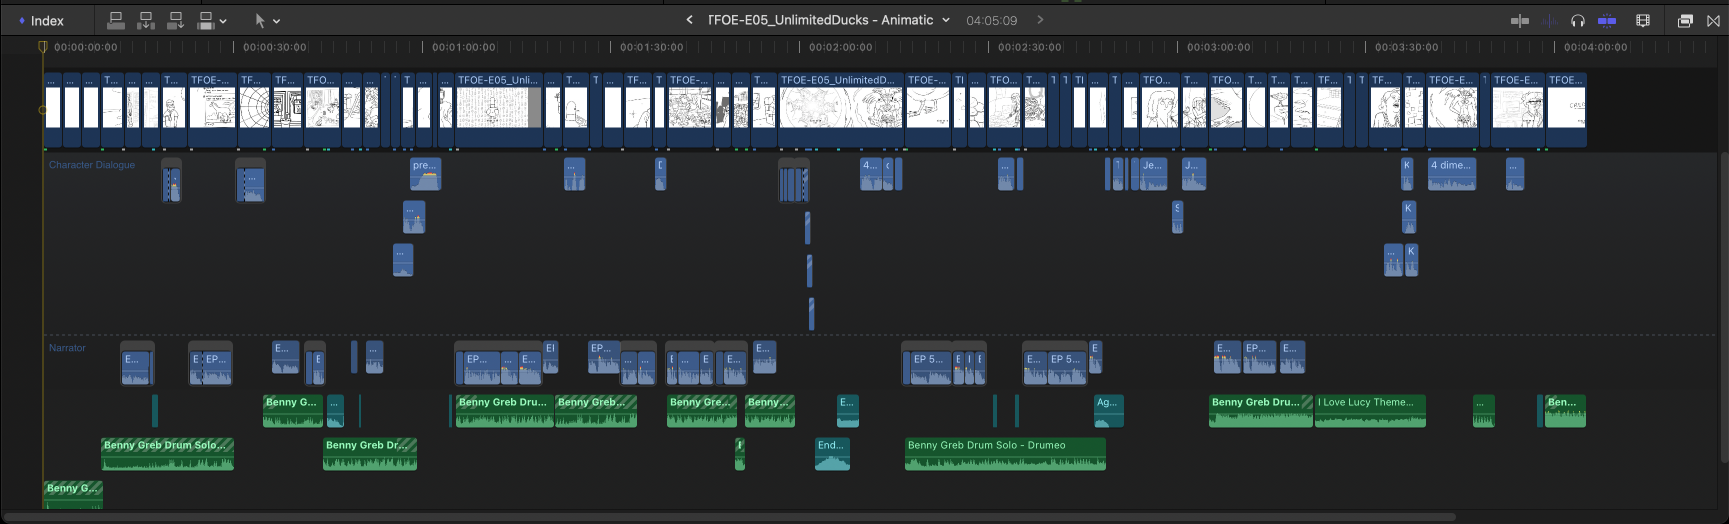
Once I got into the edit, I would use Mike’s animatic for timing, to spot any unwanted changes that may have occurred during the migration, and to spot missing shots that may have gone unallocated or missed by the team. On episode one, I would sometimes use the .xml from the animatics to do scene detection in DaVinci Resolve, however I found that the exports from Storyboard Pro were reliable, so I abandoned this step pretty early on.
Below you’ll see my basic library setup for the project. The Library title was unfortunately auto generated by PostLab so the naming convention is a bit funky. A while ago, Chris Hocking who is the head of post at LateNite introduced using emojis in our Event & Folder naming structures. Although a simple thing, I’ve found this to be useful in identifying folders and events quickly and efficiently, particularly when you’re under the pump. Sometimes it’s the little things that help to keep a workflow moving.
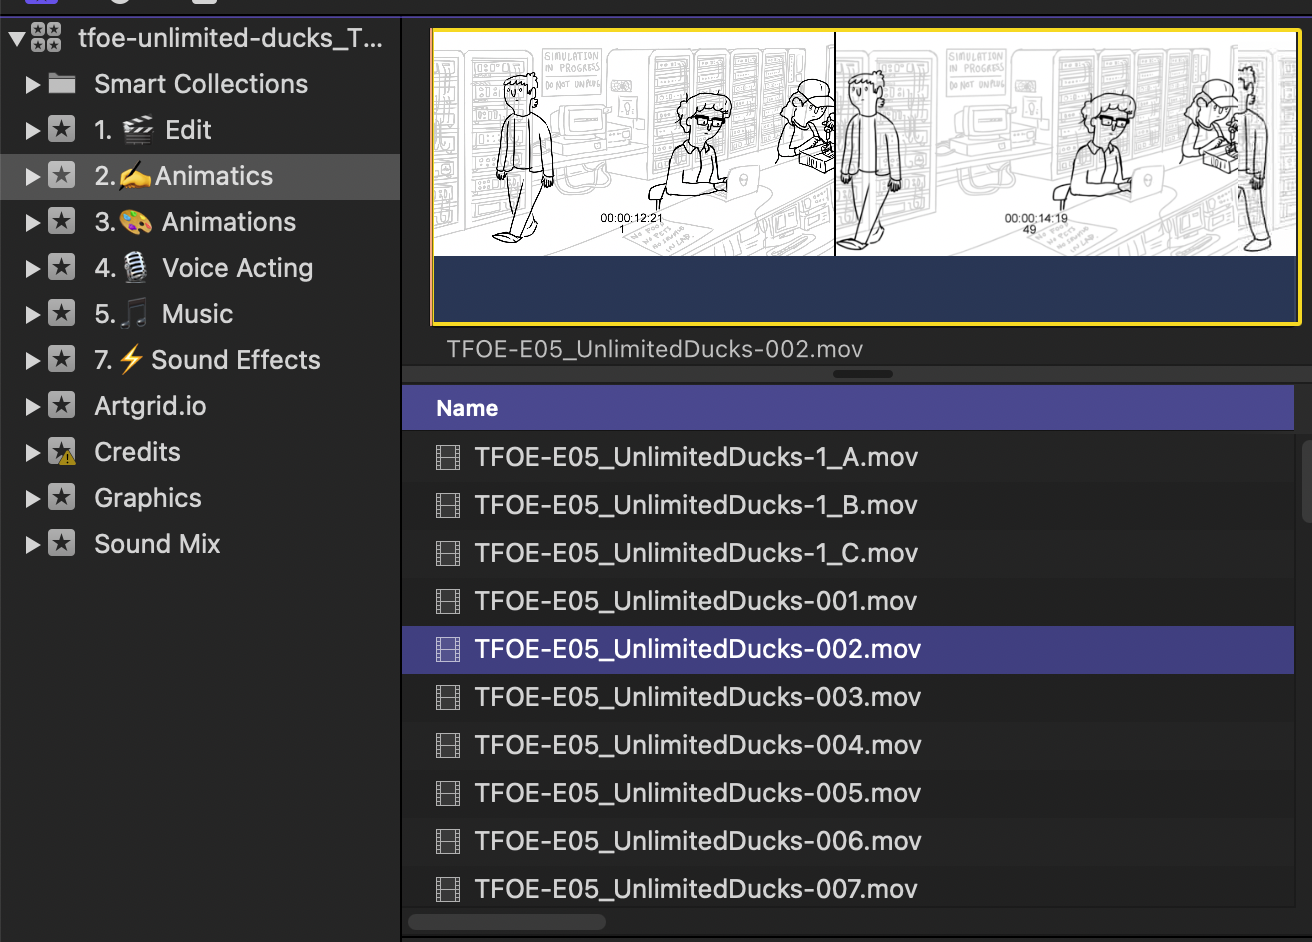
With the first twelve shots that I received, I exported ProRes 4444 from Adobe Animate and then imported them into keyword collections, that were organised by date, in the Animations Event I’d created. This became my process, eventually welcoming all 51 shots into my timeline for episode one. As mentioned, I used the .xml to help me lineup shots for timing, and would export weekly WIP edits for Mike and the producers to review.
Once we had what we’ll call our first assembly edit in place with our completed shots, I’d look at the rhythm of each shot in the context of the edit, and start building a more robust sound design from the animatic.
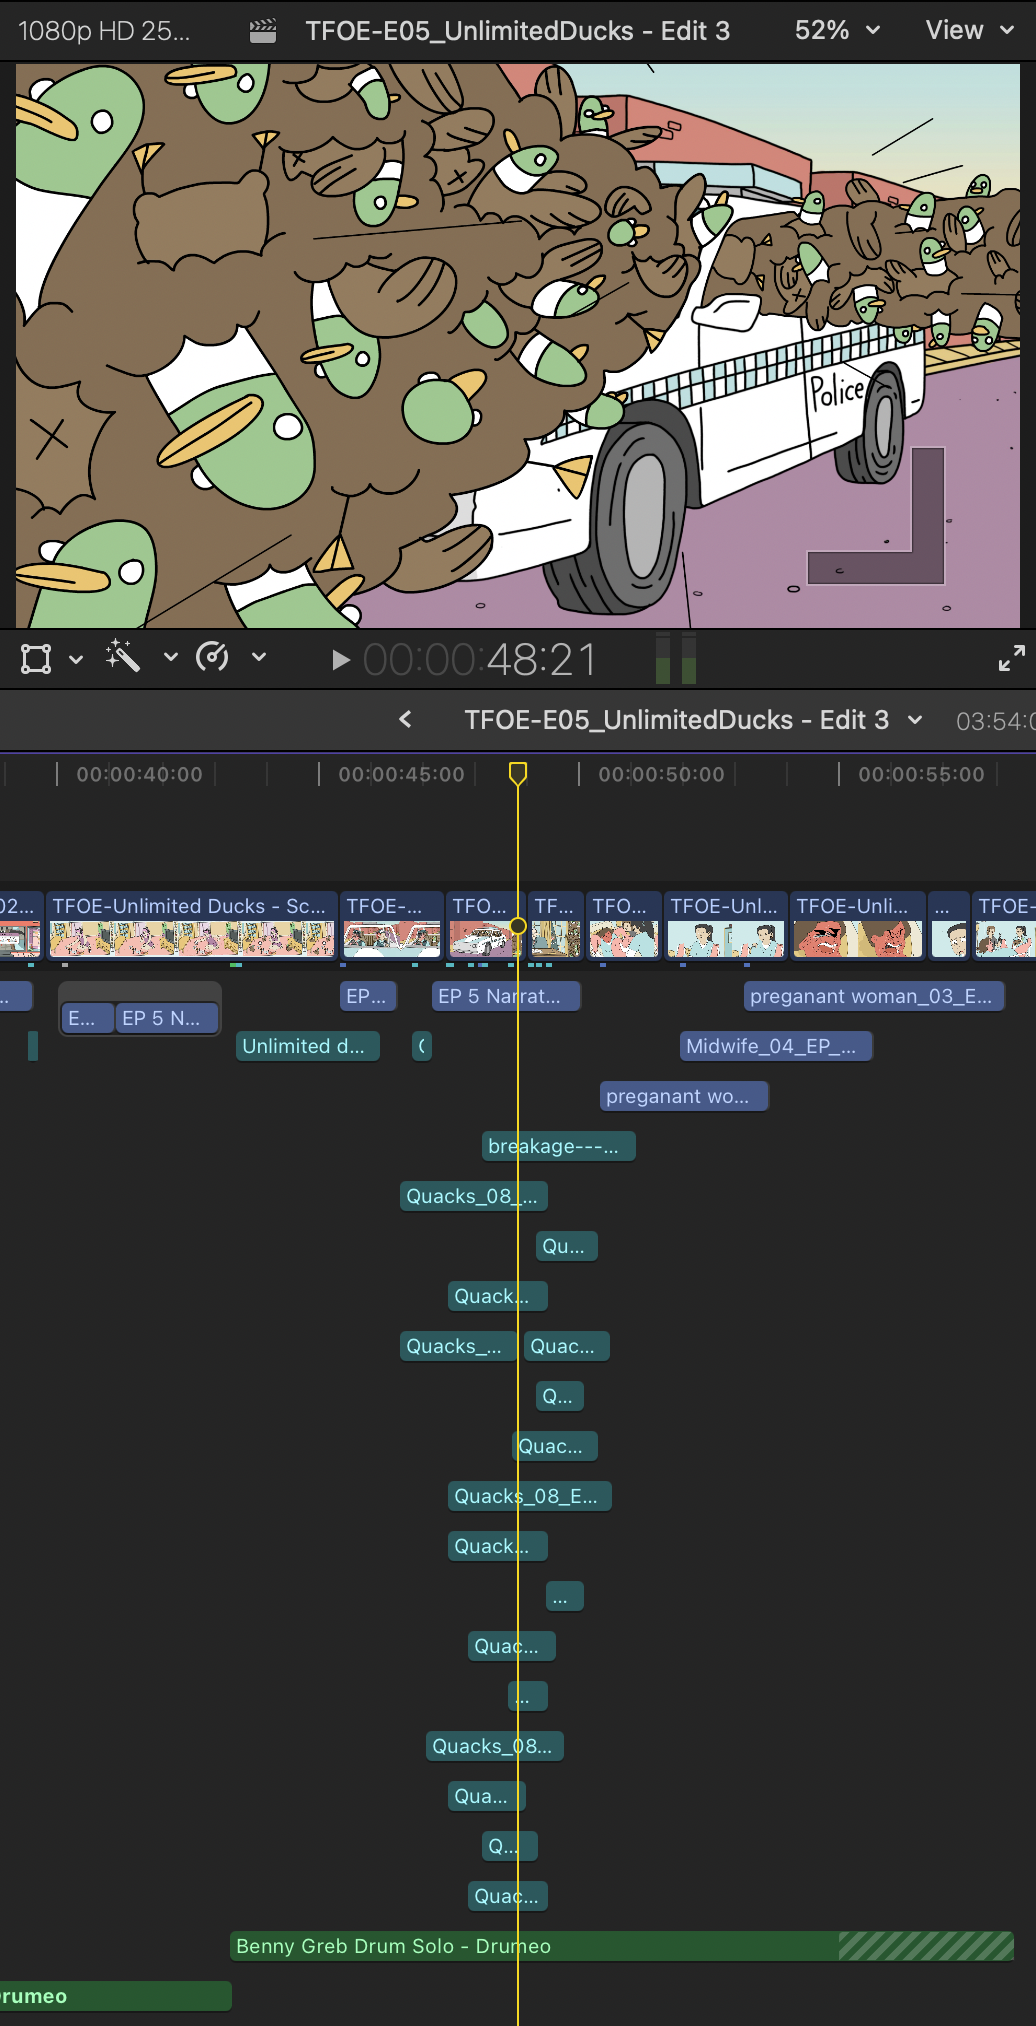
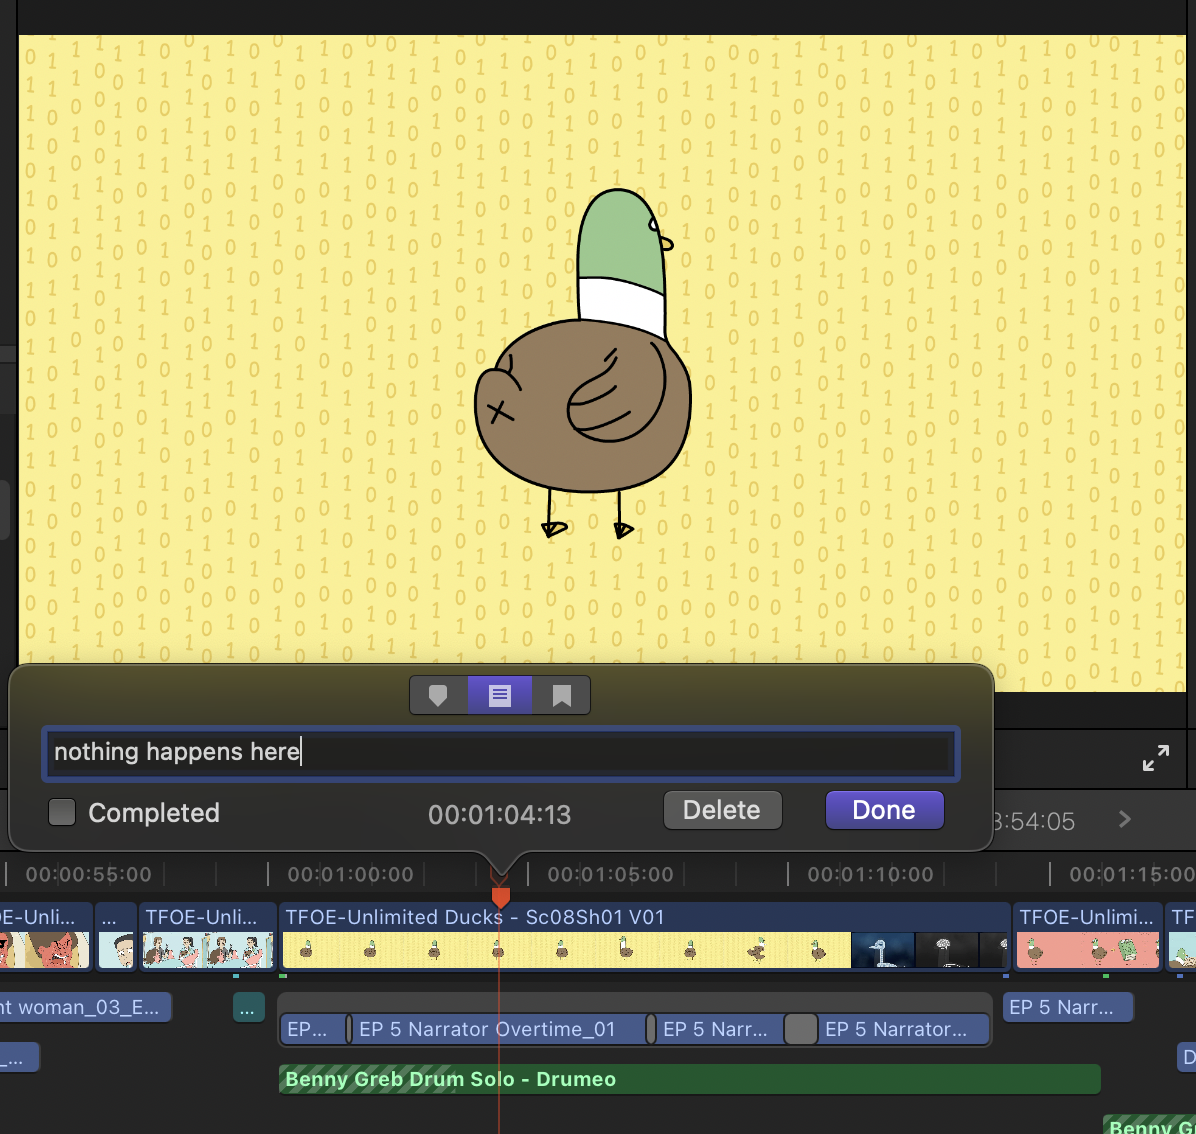
As the edit started to come together, I’d share my thoughts with Mike and the producer who would look at WIP edits and communicate notes back to the animators based on shots that may need some minor tweaks to help the edit. It might be a frame here and there or (very occasionally) a whole rethink, but due to time restraints, we’d often have to compromise, focusing on what served the story and what was achievable in the time and with the resources we had at our disposal.
If we got stuck, we’d occasionally have to pull some tricks, like repeating frames or holding frames to get the frame or two required to fix our issues.

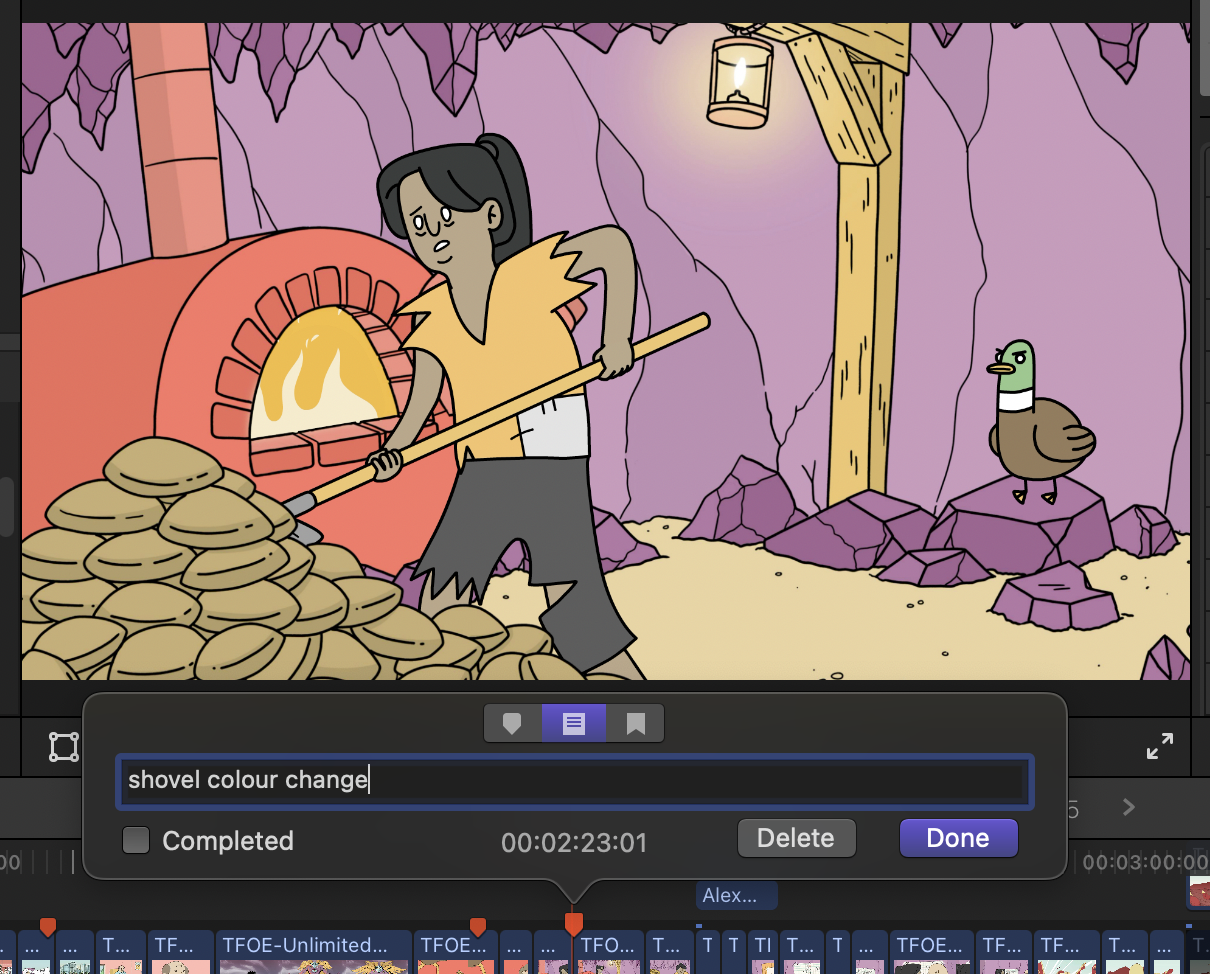
Due to the pace in which we were working, and with multiple animators across each episode, there would occasionally be minor slip ups with the colour of a prop or a missing design element as we cut from a wide to a tight. In this instance, if we could we’d do a quick fix we would, rather than having to go back to the animator who might’ve already moved on to the next episode.
Once we locked our edit - we’d then turn over our temp sound and music to the designer and composer respectively. On this job we were fortunate that Dead on Sound handled both. We’d export an AAF with X2Pro, with settings to discard any inactive or disabled audio. We’d also embed the audio with eight-second handles. When the mixes and stems came back as .wav files, it was just a matter of adding them as connected clips, assigning a new role, and disabling all other audio roles.
That first episode was about setting up how our workflow was going to function, so there was a bit or trial and error involved, but once we found something that worked for our post team, as well as Mike and the producers, we stuck to it for the remainder of the series.
To finish with an interesting aside - we found that the episodes with less dialogue and narration tended to be the ones that required more tweaks, as the pacing tended to be more dictated by the animation rather than sound. Not hugely relevant to our workflow, but interesting none the less!
Watch Series