#
2023
#
December
#
25th December 2023
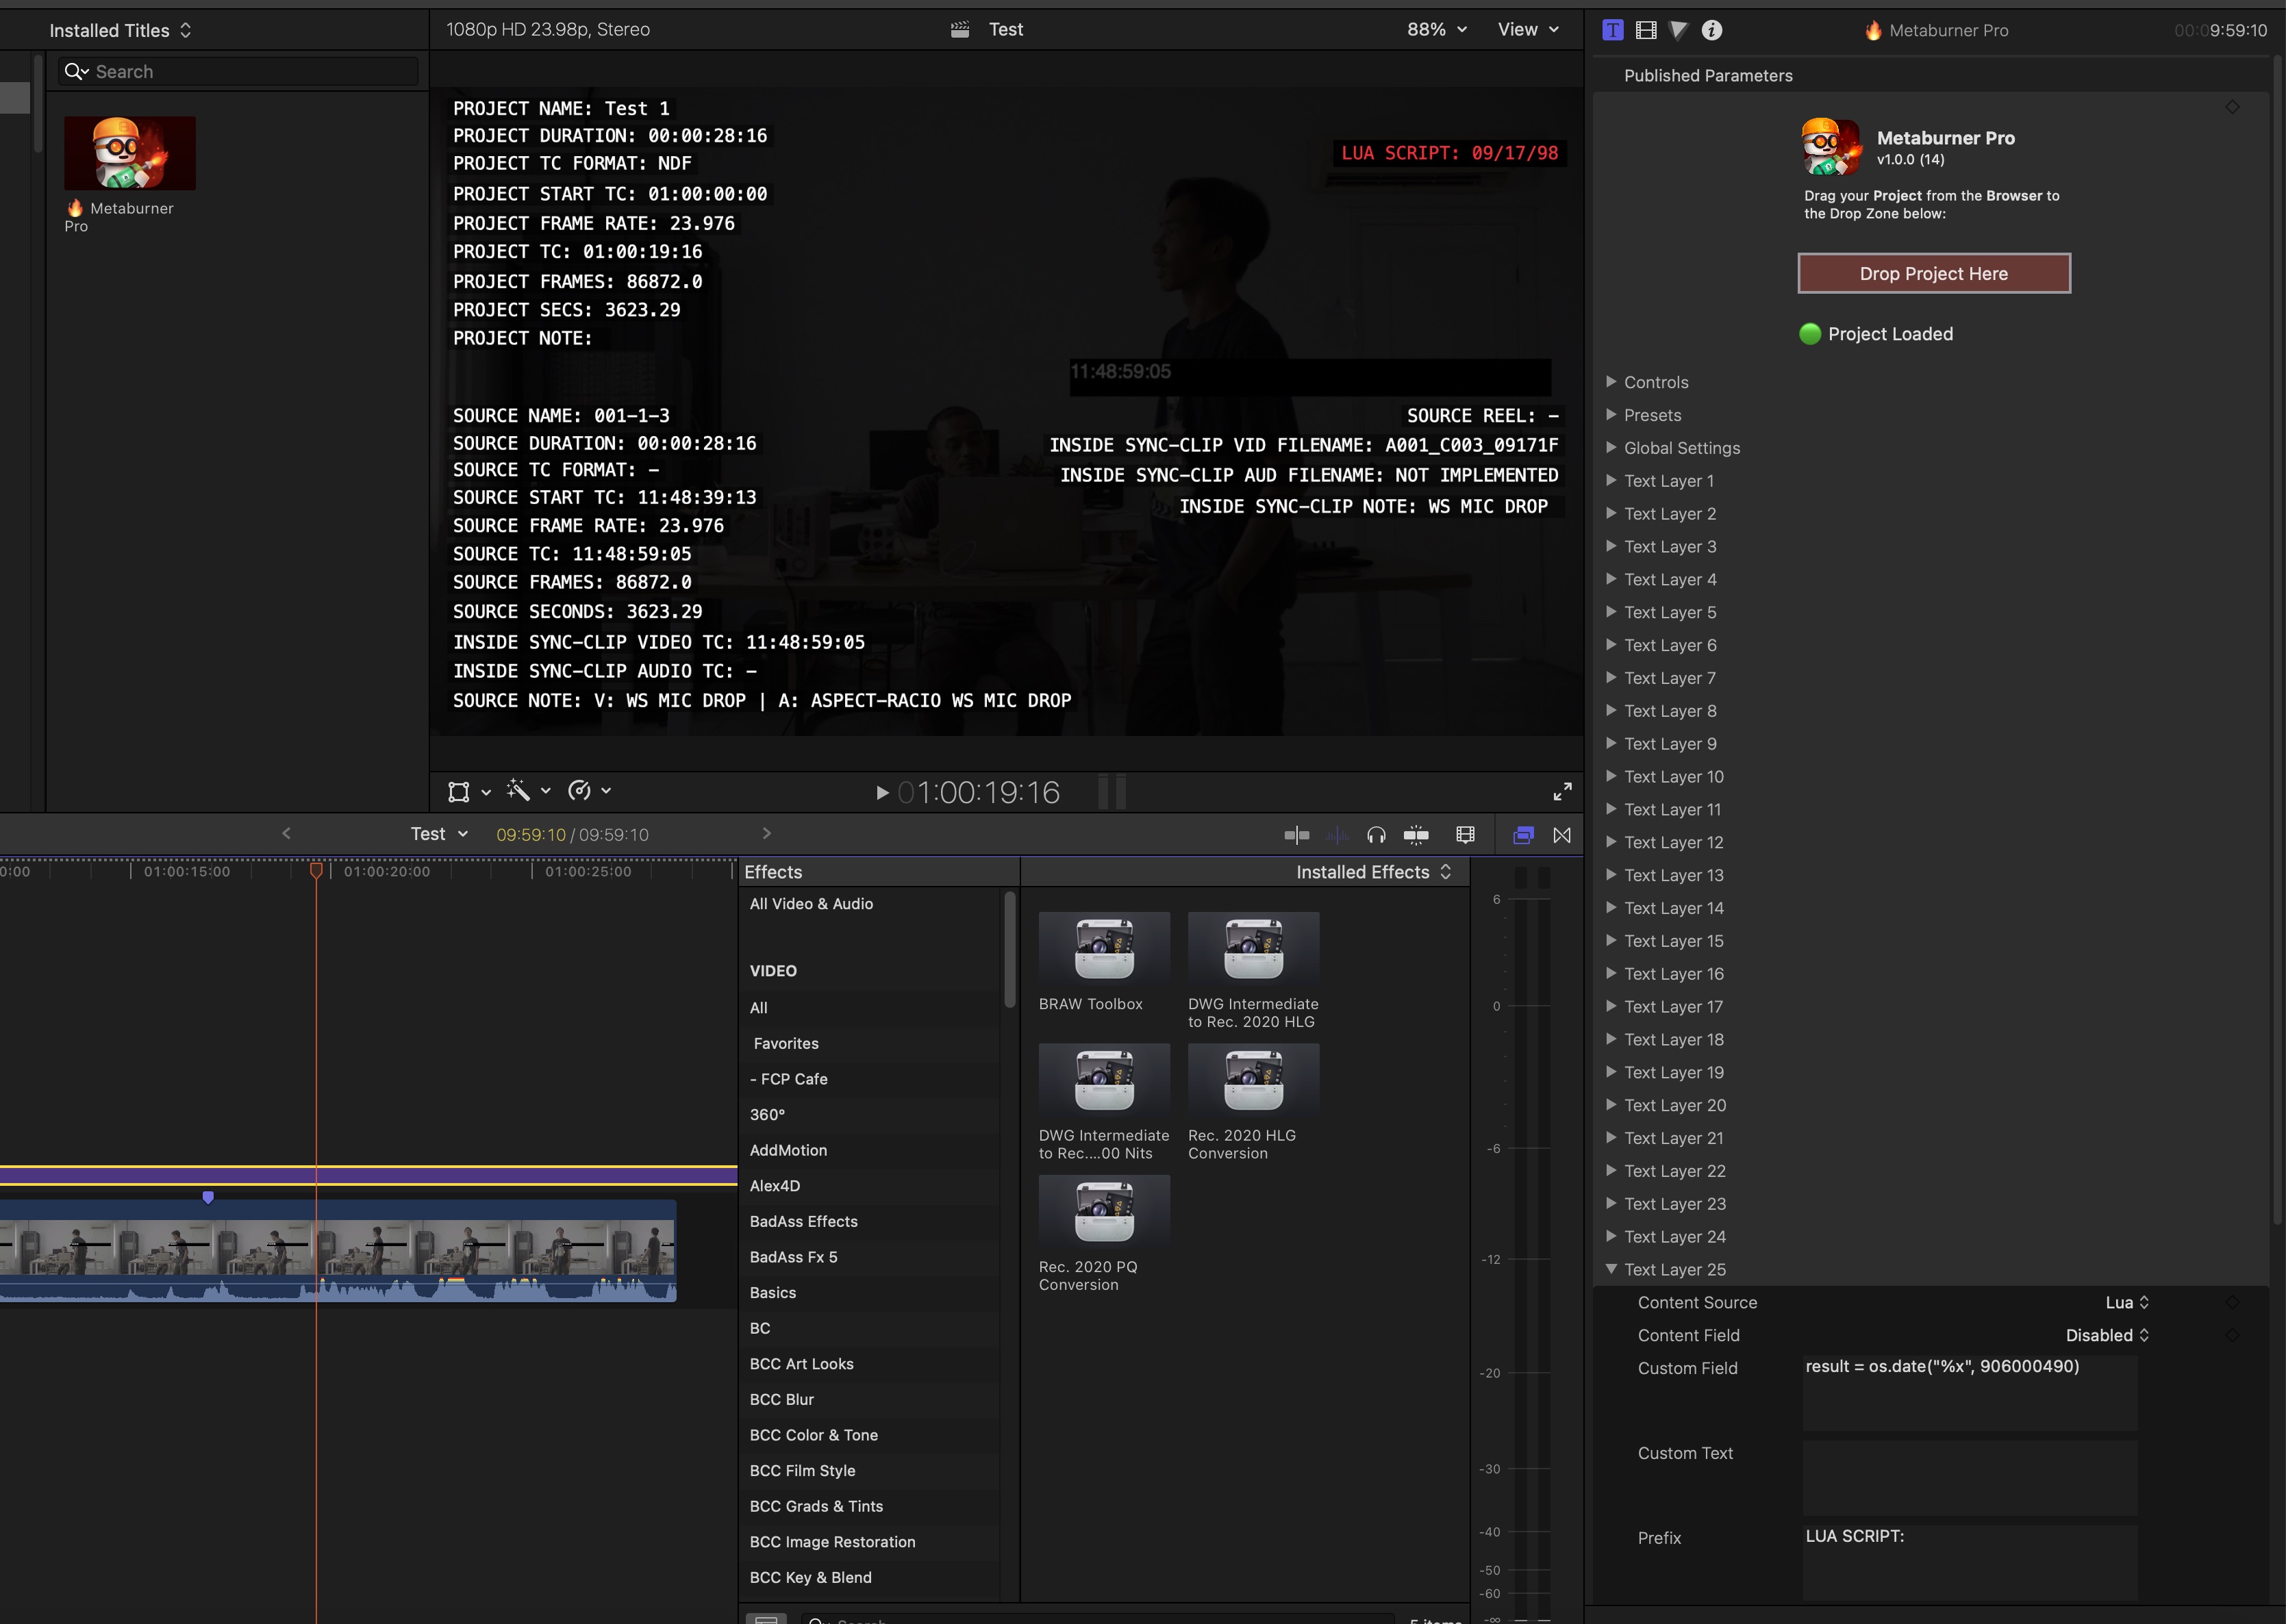
The Metaburner Pro beta period continues the excitement with new awesome new features in each TestFlight release.
Beta 14 introduced Lua scripting - allowing you to programmatically generate whatever text you want!
It's still very much a work-in-progress, with the aim to release on the Mac App Store by end of January.
You can learn more and join the TestFlight beta here.
Arctic Whiteness has confirmed that Final Cut Pro Library Manager v3.98 works "awfully well" with Final Cut Pro 10.7.1.
You can learn more here.
Builder NLE v4.1.11 is out now with the following bug fixes:
- Critical bug fix for loading new clips into the preview player (introduced in version
v4.1.10)
You can download the latest version on the Mac App Store here.
Simon Says Transcription v3.9.5 is out now with improved performance and bug fixes.
You can download the latest version on the Mac App Store here.
Color Intelligence writes:
Season's Greetings, Colour Graders!
Big news: Colourlab Ai V3 Creator for Windows and Mac has landed! It's not just an update – it's a game-changer, rebuilt from scratch with a new Ai Color Engine, offering 10x more precision than ever.
Grab Your Gift! Download it free and enjoy a 15-day playtime. Current Colourlab users, you've got a free upgrade waiting in your account.
Quick Notes:
Syncs with DaVinci Resolve (more compatibility coming soon). January: Adding Premiere and FCP support. February: Pro Release with RAW support, SDI, and Tangent. Requirements: OS13+ or Windows 10.
Happy Holidays and Happy Grading!
You can learn more here.
Carsten Kurpanek posted this really interesting Tweet on his Twitter feed:
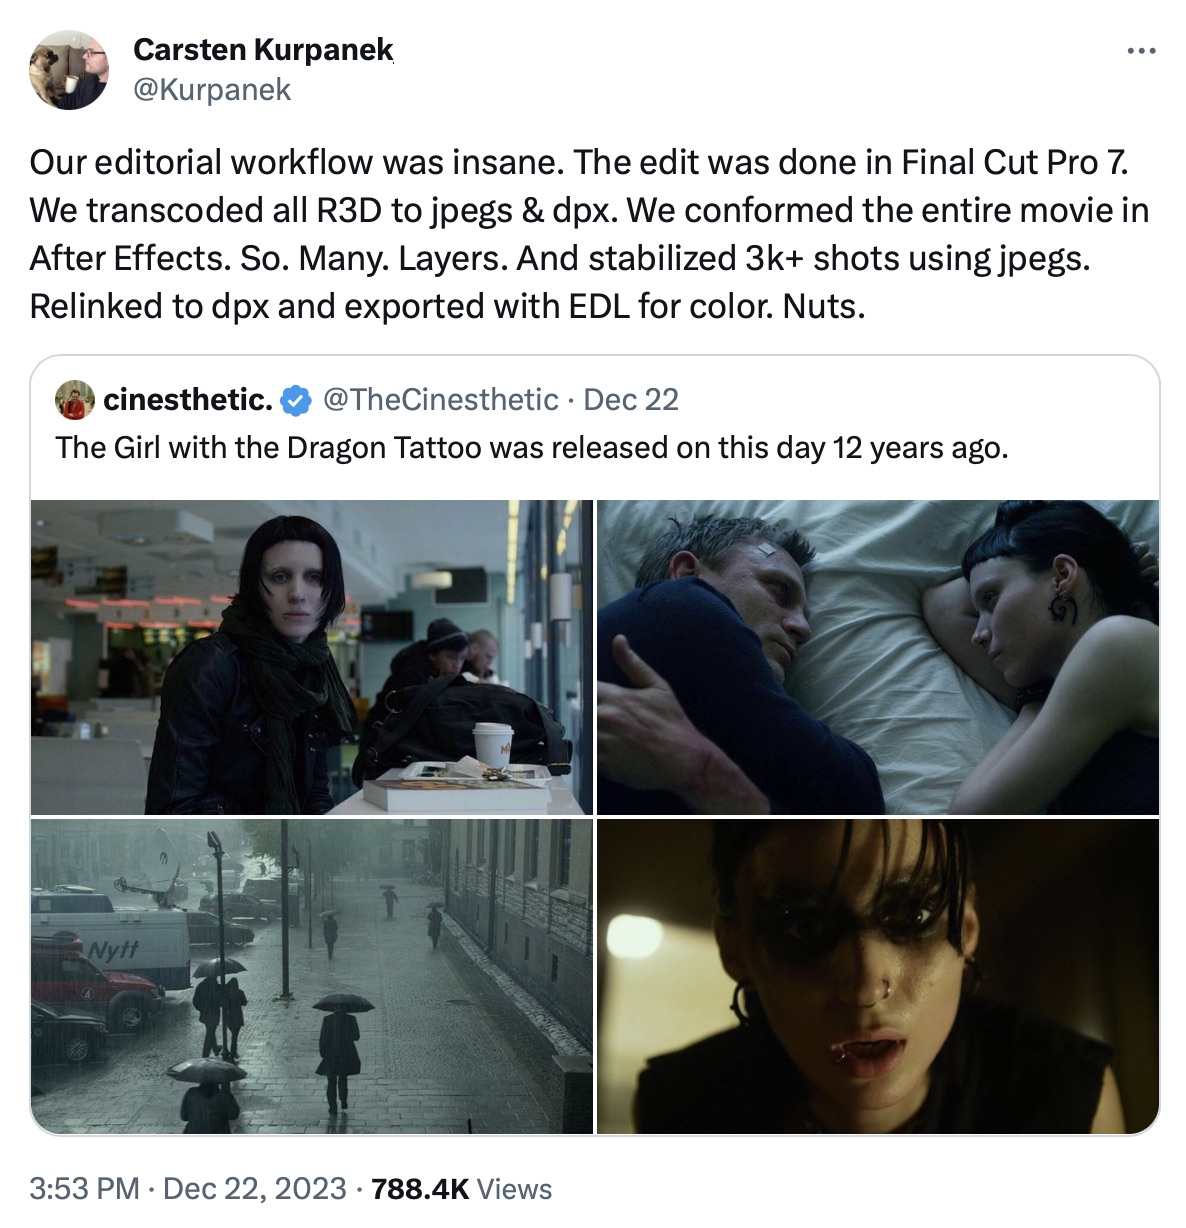
It's worth having a look through the entire thread, as Carsten gives a lot of interesting insights into this fun workflow.
It reminds me when I was back in film school in 2008, working on my SAKOOZ feature film proof-of-concept, which we shot on an early RED ONE.
Inspired by this Tweet, here's an old blog post I wrote back in December 2008:
When we first started thinking about the best way to put together the Sakooz trailer, we originally thought that Super 16mm and a film scan route would be the most appropriate option given our budget, and the “Hollywood trailer” look that we were after. However, after various camera tests (we’ll post some further information on these tests another time), and a bit of number crunching, it became clear pretty quickly that shooting on the RED ONE was going to achieve better results, cost less and make the post production just that little bit easier (at least in theory) by keeping everything digital. And so, after getting in touch with Cail & Pete from Inspiration Studios, and doing some tests with their brand new toy camera – we decided to shoot the Sakooz trailer on RED.
In terms of Principle Photography, everything pretty much ran exactly the same as if we were shooting on film. We lit it exactly the same way, and Ben (our DOP) still had his light meter by his side. Because we needed to shoot so much very quickly (time wasn’t on our side), I decided against setting up a “video village” and even a directors monitor – preferring to be there in the action, behind Ben, peaking over his shoulder to watch the on-camera LCD. This worked really well.
Although the plan was always to shoot to card for safety reasons (we’ve all got disaster stories to tell about Firestore’s dying and hard drives being dropped!) – we decided to gamble and record straight to the RED-DRIVE (a special drive designed for the camera which can store 320GB in a RAID 0 configuration). Not only that – but we decided to leave the dumping to the end of the day. This was a HUGE risk, because if the drive died at the end of the day, we’d potentially loose a whole days worth of shooting. However, we didn’t have the crew available to have a dedicated “data technician”, nor did we have the hardware to dump the cards on a regular basis. This may seem really silly (I mean seriously – all you need is a Mac laptop and a card reader!), but we had neither of those things at the time, and it was just easier to use what we had available. Luckily – nothing went wrong, and the RED-DRIVE was faultless – it never dropped a single frame! However, to anyone else planning to shoot on RED – I strongly recommend you do the complete opposite to what we did! Record to CF card and dump as soon as the card is full.
Although in the end we didn’t end up using any of the sync audio – we recorded audio separately to a Sound Devices 744T, which was synced to a Smart Slate. Originally we had planned to sync the camera to the 744T as well, but for some reason we couldn’t get it to work on the first day of shooting, so we gave up. I believe the problem has since been fixed with one of the RED ONE Firmware Updates. We only had one microphone on set – a Sennheiser 416 on a boom. We basically just recorded sound to use as a guide track for when it came to adding sound effects later on.
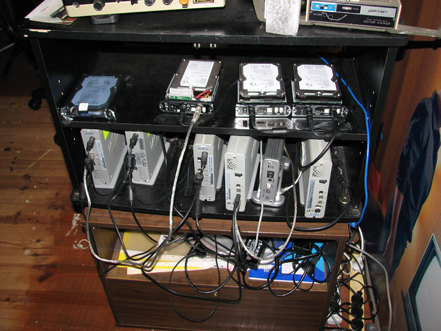
At the end of each shooting day we dumped the RED-DRIVE and the 744T to two separate 1TB SATAII drives. For the duration of the shoot we managed to borrow a brand new MacPro Tower from Julian at Eidolon Creative and used this machine to do all the dumping as well as the transcoding. We put the two 1TB drives directly into the MacPro. We ended up with 508.34GB of camera footage, and a couple of GB of audio. We ended up purchasing two additional 500GB SATAII drives to make another backup of all of the R3D files – which we then stored at two separate locations away from our master edit suite, just in case. We called the drives Pinky (Master Edit), Bluey (Backup of Master Edit), Tumbles (R3D Master) and Splash (backup of R3D Master), because that’s what the names of the Sakooz creatures are called. Anyway… Now normally, on a “proper” production, you would have RAIDs and RAID 5 protection, etc. But unfortunately, we simply didn’t have the money for that, so we just had to make do with what we had. We had to manually copy and paste the files for backup purposes – we basically did this at the end of each day. We also kept a copy of the Final Cut Pro project on two USB thumbdrives just in case. Just for laughs, here’s a photo of some of the drives from our rather odd-ball collection. The top right one is Pinky. We ended up taking the covers off the enclosures as we found they got too hot when in use all day and night long.
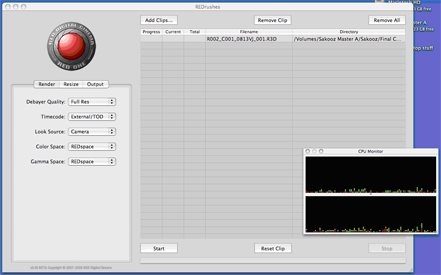
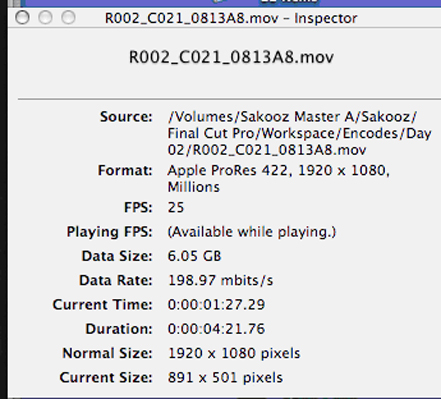
After principle photography was wrapped we set the MacPro to work transcoding the R3D files using REDrushes (a free application which can be downloaded from the RED site). We were transcoding the R3D files to Apple ProRes 422 HQ files at 1920×1080. We were using the full debayer quality, and REDSpace for both the Colour & Gamma spaces. This took a HUGE amount of time (almost two weeks of none stop processing), but at the end of the day we ended up with some terrific QuickTime files that we could throw into Final Cut Pro and start editing, plus we could also send these clips to the visual effects kids so that they could start playing. We did run into one slight problem after we THOUGHT that everything was done. On inspection of the transcoded files, we realised that all the QuickTimes for Day Two of shooting were EXACTLY the same as Day Four. I’m still not sure whether that was human error or REDrushes being annoying – but either way we had to re-transcode all of the day four footage. Unfortunately at this stage we had to give back the MacPro, so we had to do all of this on a stock standard first generation MacBook. It wasn’t quite as fast as the MacPro, but it got the job done. Eventually.
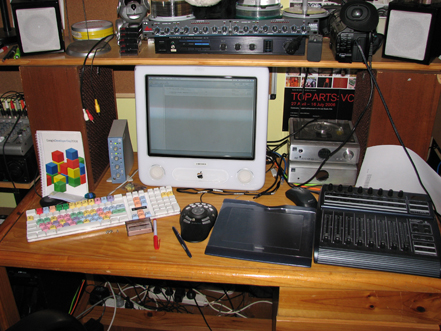
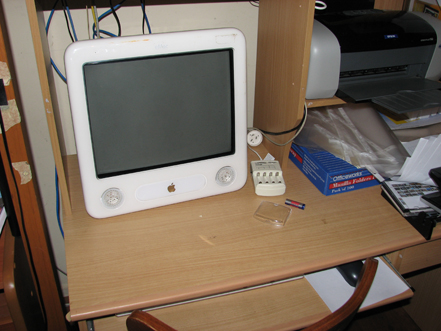
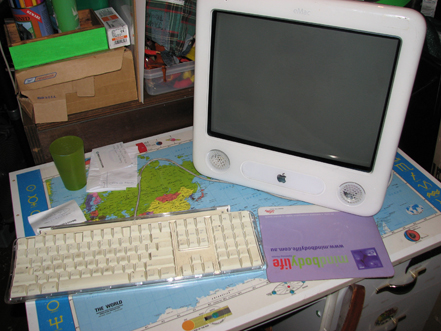
Offlining using such high quality media may seem a little silly – I mean, really, we could have done a quarter res transcode to DV, and save a huge amount of time and disk space. Also, considering we were doing the offline on a bunch of eMac’s over Firewire 400 drives (that’s right… really old school eMac’s!), it would have also made the whole editing process a lot more fluid. However! By editing at such a great quality, it meant that whenever we did test screenings or had to show potential investors or sponsors, we could easily burn off a high-quality 1920×1080 QuickTime Movie that looks simply gorgeous even before grading. Here is a photo of our main editing machine.
...and the other babies:
I’m not even sure how this is possible, but we were able to play one video track of 1920×1080 ProRes on the eMac over Firewire 400 in realtime without any issues. And so, we basically edited away for several weeks in Final Cut Pro 6. We ended up doing a very rough grade using the 3-way Colour Corrector just so that when we showed other people to get opinions, they were looking at something that looked half decent. We tried a huge amount of different things in terms of the edit – we used a lot of different music as guide tracks. We even copied the audio from other big Hollywood trailers (such as the Dark Knight) and cut our footage to their soundtrack just to see what we could come up with. It was a very painful, long, but fun and creative process that I certainly won’t forget any time soon!
Whilst I was trying to lock down the picture, others were playing around with the visual effects. Initially, tests and trials were done by the various VFX artists using the ProRes QuickTime files. However, once we had locked down the trailer in terms of the edit, we used REDCINE to export out 4K TIFF sequences and 2K/1K DPX sequences for the visual effects people to work on. Ashley Smart (who did the effects for the Shed Explosion Sequence) was using 4K TIFF Sequences in After Effects on a laptop (which is quite incredible). James Otter used 1K DPX sequences in Nuke, and After Effects to achieve a lot of the effects shots, on a PC. And I used a good old MacBook, running After Effects and Shake to do the remaining shots. I ended up using After Effect’s own tracker for most of the tracking work, although I did use PFTrack for one of the shots. I also used Syntheyes on an old Dell Laptop for a small section of another shot. For Pinky eyes, I ended up brining in 4K DPX sequences into After Effects – which was fairly interesting on the poor old MacBook! But it worked, and the shots came out OK considering…
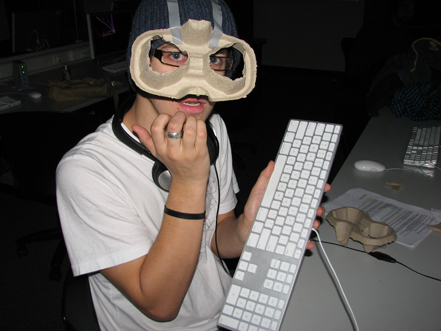
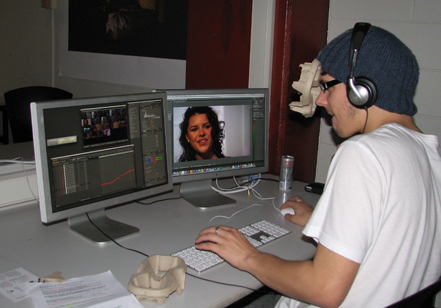
We ended up with 16 visual effects in total (including graphics). Once a visual effect shot was completed it was exported as a 1920×1080 DPX sequence ready for grading. For your viewing pleasure, here are some photos of After Effects genius James Otter, working away! I have no idea what the cardboard cartons are for, or where he got them. Needless to say, these photos were taken at some ridiculous early hour of the morning, after James and I had been stuck at uni for AT LEAST forty hours STRAIGHT!
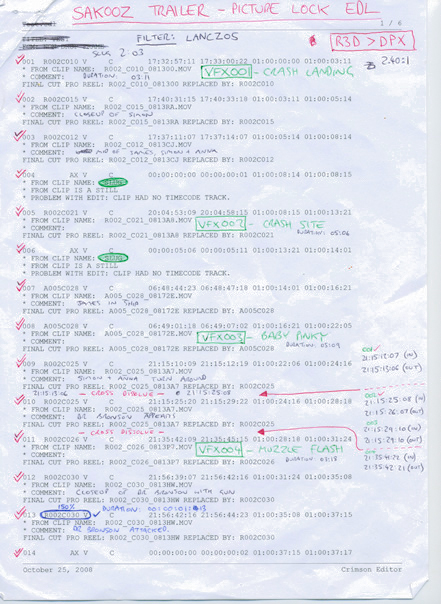
Once the offline edit was complete, we tidied up the timeline so that everything was on the one track (where possible) and printed off an EDL. This then became our bible. At this stage, all the audio had been done in Final Cut Pro, with the occasional effect being done in Protools LE and Soundtrack Pro, and then exported out as an AIFF. We were still using guide track music.
By printing off the EDL we now had a hard copy of the trailer’s edit – which is always a good thing! But more importantly, it allowed us to easily track and manage everything. Because we couldn’t afford to purchase software such as Crimson Workflow, and we didn’t have time to write up our own proprietary software, we ended up doing a lot of things manually. For instance, we ended up going down the EDL line by line, and exporting a 1920×1080 DPX sequence from REDCINE. We made minor adjustments in REDCINE to get the most clean image and exported away. We put each shot in a different folder based on the EDL number assigned to the shot. For example, the first shot in the trailer was called 001_000001.DPX. This kept things nice and simple. Once every shot was exported out of REDCINE as DPX sequence (which took a night), it was ready for grading!
Originally we had planned to do the grade at one of the major post houses in Melbourne, but due to a lack of time and money, we ended up getting a very talented film school graduate called Nick Reid to do the grade in Apple’s Color. Getting the DPX files into Color proved to be a bit more tricky than anticipated! We ended up purchasing yet another 1TB SATAII drive (called Gizmo) for the colour grade.
What we ended up doing was wrapping all the DPX files as QuickTimes manually using AJA’s free DPXtoQTTranslator utility. Once all of the DPX’s were wrapped (including all the visual effects), we manually re-created the Final Cut Pro timeline based on the printed EDL using the newly wrapped QuickTime files. We then exported out a XML file from Final Cut Pro. This XML file was brought into Color and grading could commence. Nick took a couple of days to do the grade, and once completed, he handed back Gizmo, ready for the final stages!
With the grade now completed, we exported out AJA 10-bit Uncompressed RGB QuickTimes. We then used the AJA QTtoDPXTranslator to unwrap the QuickTime Files back to DPX files. As the AJA tool simply “wraps” the files – it doesn’t transcode them or anything like that, this process is really fast, although you do have to do it manually. For me, that means I have to do everything 69 times which isn’t too bad. The only annoying thing is that you have to rename all the clips again, as Color names everything sequentially, and we wanted everything named as per the bible (i.e. the EDL).
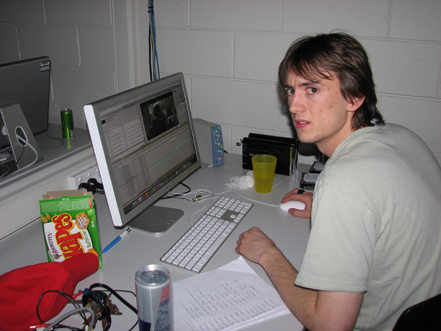
Now with a whole heap of beautifully graded DPX sequences, it was time to do the online. I ended up doing this at University on a nice and speedy MacPro in After Effects CS3. I imported all of the DPX sequences, and then manually put them all in the correct places based on the printed EDL. Once that was complete I simply rendered out a QuickTime File using the Animation Codec. Here is a photo taken at about four o’clock in the morning after I’d been at uni for about forty hours STRAIGHT working on Sakooz. You can see the insanity in my eyes.
The only thing left to do was sound! Once Frank (our composer) finished, he simply gave us a 24-Bit 48KHz Broadcast Wave File, which we threw into Final Cut Pro. After a bit of tweaking – adjusting the sound effect levels to suit the new score, the sound was ready to rock and roll! Originally we had planned to do a quite complex 5.1 mix just for fun – but at the end of the day, no one was ever going to listen to it in surround sound anyway, so we decided to skip on that idea (for now at least). Once the sound was done, we exported an AIFF and then merged the Animation Codec video and AIFF together to create the Final QuickTime Master!
From that QuickTime master we than could do any DVD, web, Blu-ray, etc. encodes using Compressor.
And that is the workflow we decided to use for Sakooz! At the moment we are just archiving all the project files to DVD, and keeping all the media on the SATAII drives. At some stage we will eventually put everything to LTO drives as a final backup – but we don’t have the money at the moment.
This wasn’t exactly the quickest workflow in the world (we did a lot of things manually that could have been easily avoided by using software such as Crimson Workflow, plus we used extremely old Mac’s and PC’s in a lot of cases), but a lot of it came down to money vs time. In some cases money won out, but more often than not, we decided to save money and do things the manual way. To be perfectly honest, it actually felt really nice to have a printed out EDL on which to direct everything! It felt much the same as the good old days with film!
If you have any questions about the workflow or how we did anything, feel free to post a comment. At some stage in the future we also hope to post some more detailed information on the various visual effects that featured in the trailer, so stay tuned!
Chris!
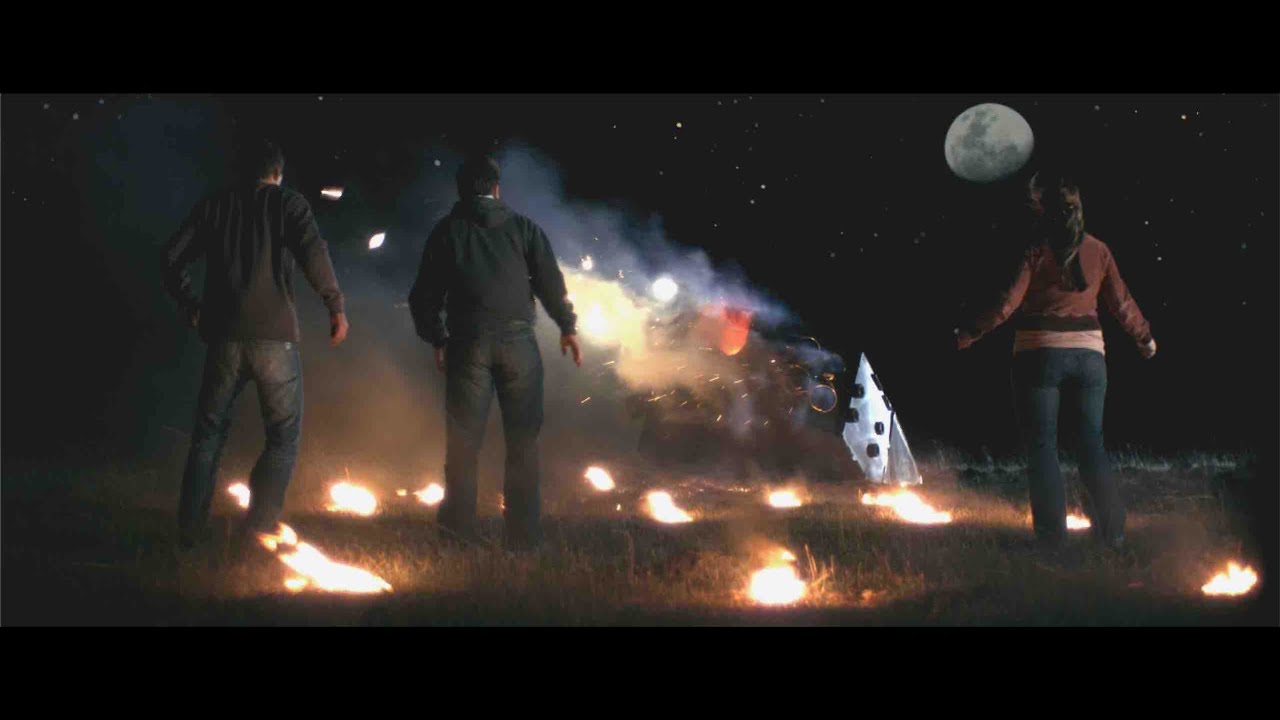
It's terrible, but you can watch the SAKOOZ trailer here:
Merry Christmas Team!
